
This guide is for your very first run of Clash Verge. No theory, just the shortest path from a fresh download to a working connection. It takes about five minutes; if anything goes wrong along the way, the fixes are linked at the end.
What you need
Two things: a computer running Windows 10/11, macOS or Linux, and a Clash subscription URL. The URL comes from your proxy provider — look for a button labeled "Copy subscription" or "Clash subscription" in their dashboard. It is a long link, usually with a token parameter.
Clash Verge is only a client. It ships with no servers, so without a subscription there is nothing to connect to.
Step 1: Install
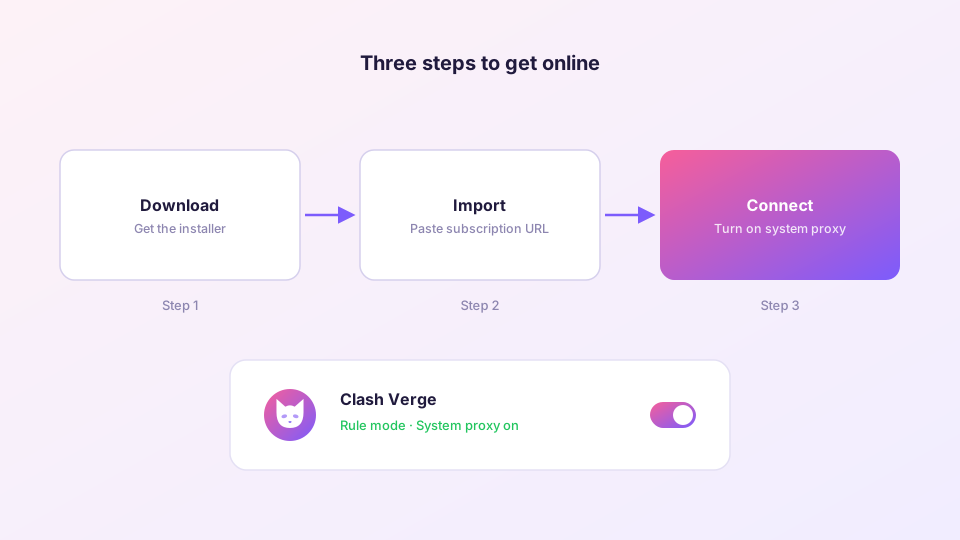
Grab the installer for your platform from the download page — Windows users want the 64-bit build. Run it with default options. When Windows shows the SmartScreen notice on first launch, click "More info", then "Run anyway"; allow the firewall prompt when it appears.
Platform-specific details (ARM devices, offline installs) are in the dedicated guides: Windows, macOS and Linux.
Step 2: Import your subscription
Open Clash Verge and go to the Profiles page. Paste your subscription URL into the input at the top and click Import. Within a few seconds a profile card appears below, showing your traffic quota and expiry date. Click the card to select it — an imported but unselected profile does nothing.
If the import errors out, the link is usually incomplete or expired — see subscription import troubleshooting.
Step 3: Pick a node, flip the switch
On the Proxies page you will see your provider's node groups. Hit the lightning icon in the corner of a group to run a latency test, then pick a node with a low, green number.
Finally, open Settings and turn on System Proxy. That single toggle is the "connect button". Open a site that was previously unreachable — if it loads, you are done.
Sensible defaults
- Keep the mode on Rule: local traffic stays direct, foreign traffic goes through the proxy. The three modes are compared in proxy modes explained.
- Enable Auto Launch and Silent Start in Settings so the proxy is simply there after every reboot — details in the autostart guide.
- Ignore TUN mode for now. System proxy covers browsing. When a game or terminal tool needs the proxy too, read the TUN mode guide.
Not working? Check in this order
- Is the System Proxy toggle in Settings actually on?
- Does the selected node return a latency number? Grey or timeout means it is down — pick another.
- Is the mode set to Direct by accident? Direct bypasses the proxy entirely.
- Still stuck: check whether the core is running at all — see startup troubleshooting.